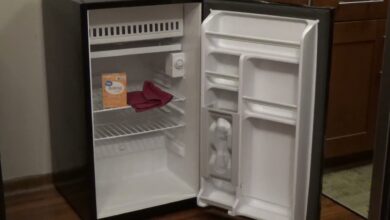
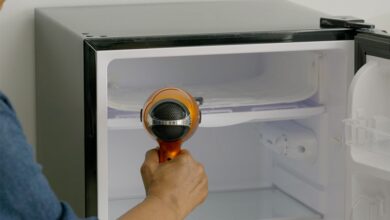
How to put freon in a mini refrigerator?
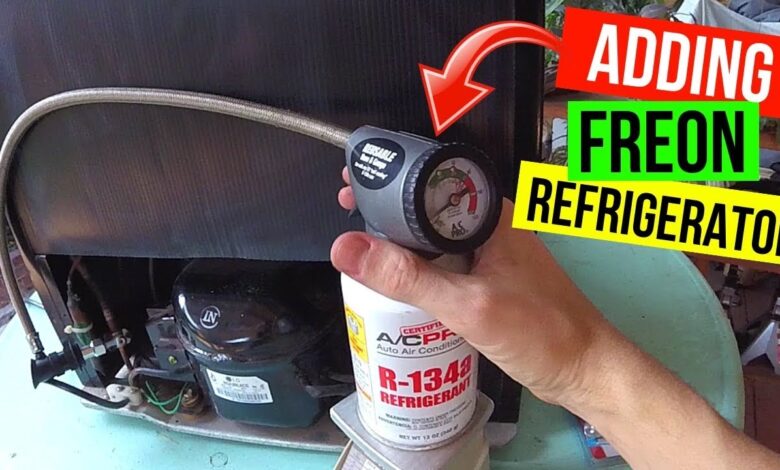
It’s difficult to add Freon to a refrigerator. You run the danger of irreparably harming your refrigerator if you use the incorrect sort of Freon, add too much Freon, or install the bullet-piercing valve improperly. Additionally hazardous, freon can harm your health in a number of ways if you consume it. If you are comfortable with a refrigerator and don’t want to call a repair service, you should only add Freon yourself. Determine the cause of your refrigerator’s malfunction first. Let’s follow us to find out how to put Freon in a mini refrigerator in this post!
Post Contents
How to put freon in a mini refrigerator?
Identifying the Problem
Find out if your refrigerator actually uses Freon. Since it is environmentally harmful, most refrigerators produced after 2010 don’t utilize freon. Many refrigerators that were produced after 2003 don’t use Freon either. Open the refrigerator’s doors and search for a metal or plastic label with the product information to determine whether your refrigerator uses Freon. The cooling technique will be listed there.
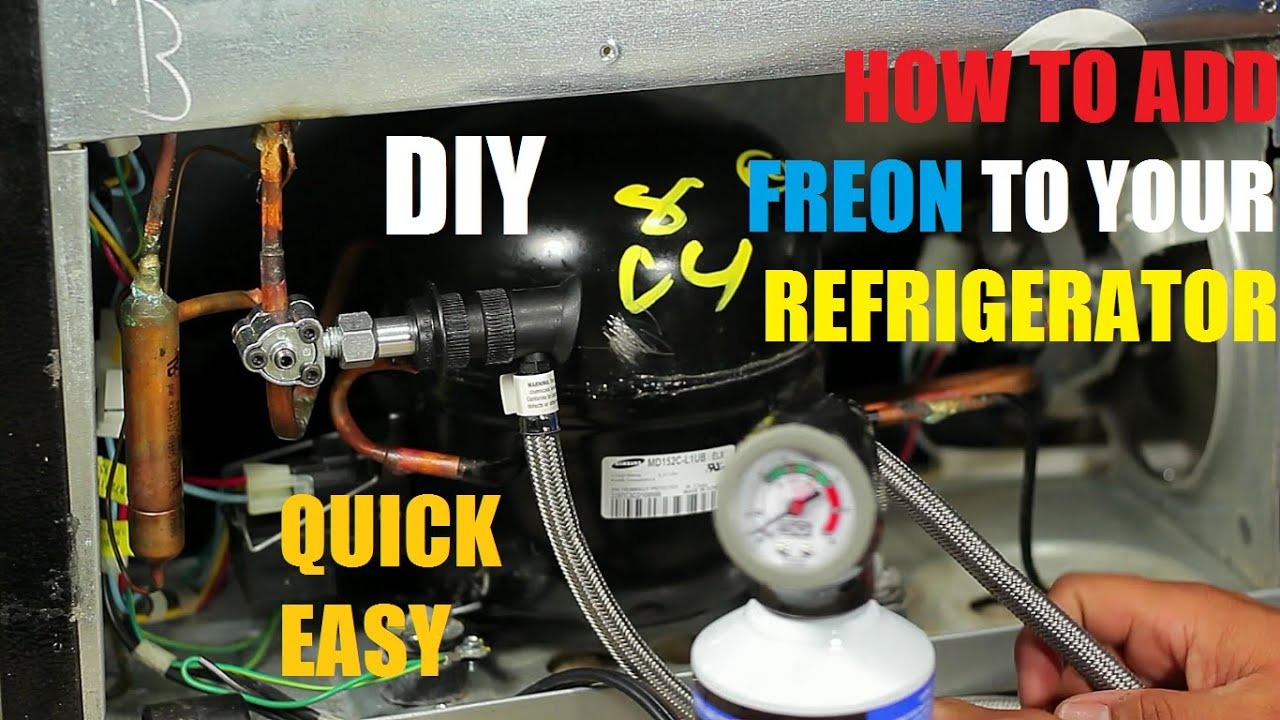
Freon comes in a variety of forms. R-12, R-13B1, R-22, R-410A, R-502, and R-503 are potential choices. You must use the exact type of Freon specified on the label if you need to add more.
Look for obstructions in your vents and clean them as necessary. Clogs in the vents are one of the most frequent reasons for high interior temperatures. Check the vent on the back of your refrigerator first. Then, check the inside vent by prying out the freezer’s back panel using a flathead screwdriver. If they’re filthy, wipe them out and take out any debris with a paper towel.
Check to see if the issue goes away by cleaning the water. It is possible to order a replacement vent fitting from the manufacturer if one is damaged. To remove a vent, follow the directions for your particular model. Usually, a flathead screwdriver or chisel can be used to pry them free.
Spray water on freezer pipes where a leak is thought to be present to check for cracks. Check the pipes underneath your refrigerator near the compressor tanks and in your freezer behind the panel. Clean up any water that has accumulated and wipe it from the pipes if you notice any. Spray the pipes with water from a spray bottle after filling it. You’ve discovered a hole if the water starts to bubble up in a certain area.
Before adding extra Freon, wait to see whether the issue gets better on its own. You most likely don’t need to add more Freon if there is a problem with your vents, coils, or water lines. After an issue has been fixed, give your fridge two to three days to resume normal operation. If it does, Freon is not necessary. Check the Freon levels if the problem doesn’t go away on its own.
Repairing Leaks and Faulty Parts
If the evaporator coil needs to be replaced, get a new one. The evaporator coil is typically one of the first elements of a refrigerator to sustain damage. Fit a flathead screwdriver around the corners of the back panel of your freezer, then pry it out. You’ll notice a sizable collection of coils that are all joined in unison. Look for leaks or rust in the coils to determine whether the evaporator needs to be replaced.
If you wish to repair the entire line, replace any leaky pipes that are close to your compressor. If you have access to both sides of the threading, you can replace a full pipe. Ask the manufacturer of your refrigerator if you should take any safety precautions before ordering a replacement pipe from them. Before unscrewing the pipe and installing the replacement, unplug your refrigerator and carefully follow the manufacturer’s instructions.
To repair leaks and minor holes, solder copper and aluminum pipes together. Even while it’s nearly always simpler to replace a whole item, you can repair small leaks and holes by soldering a copper or aluminum plate over them. Buy a clamp, a soldering tool, some flux, and a little piece of aluminum or copper. Apply flux to the joint where the aluminum plate is joined, then clamp your plate over the hole. Heat the joint and solder the two pieces together using your soldering tool.
To avoid further issues, fix any leaks or broken components before adding Freon. Your refrigerator will simply keep leaking if you add Freon without fixing any leaks or broken parts, and any additional Freon won’t help. Before adding any Freon to your refrigerator, fix the issue you’ve already detected.
Adding More Freon to your Fridge
You should unplug your refrigerator before removing the rear panel’s screws. Unplug your refrigerator after a small amount of removal. Turn the fridge around so you can access the back panel, which is always at the bottom. Utilizing a wrench or screwdriver, remove the bolts and screws. The panel should be removed and put away.
By looking for the compressor tank, you can locate the Freon pipe. The huge tank on the bottom of your refrigerator, hidden below the panel, is the compressor tank. The hot air is compressed and cooled before being returned to the refrigerator. Directly connected to your tank and feeding into the refrigerator is your freon line. If your refrigerator has many pipes, check the handbook to see which one is the Freon line.
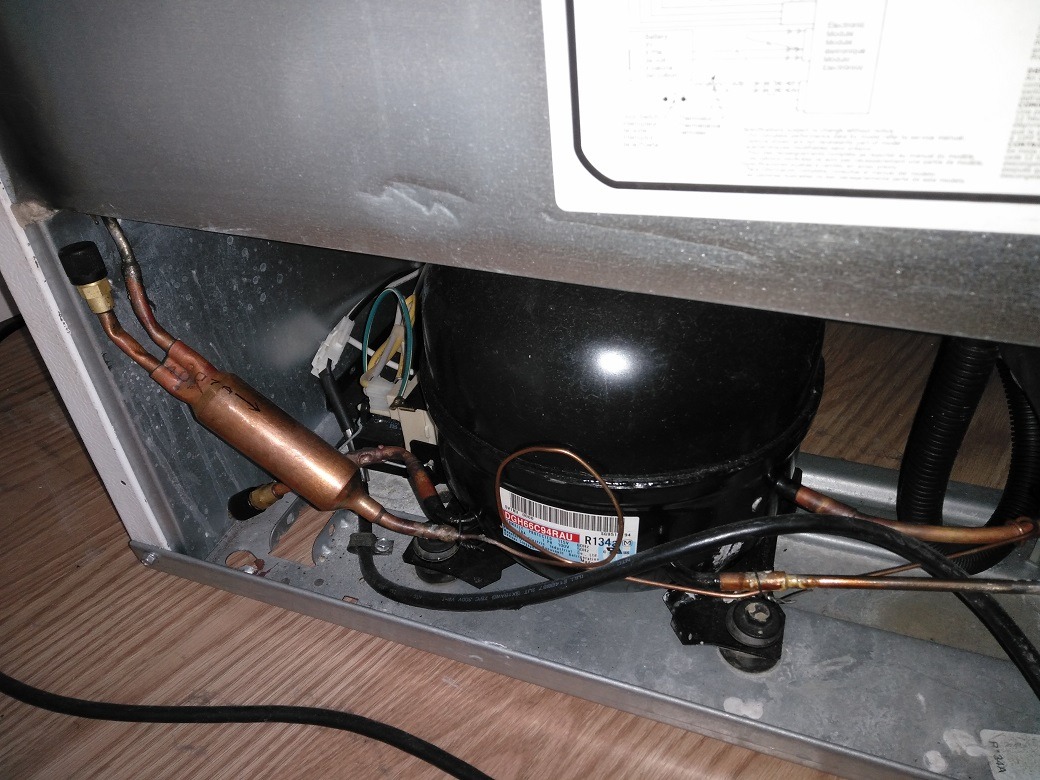
Near your compressor, install a bullet-proof valve around the Freon pipe. There are two elements to the bullet-piercing valve. With an Allen wrench, unlock the three bolts and then wrap the pipe around it close to the compressor. By connecting the two different sections with an adaptor, you might need to alter the size. The pipe will be punctured by the bullet-piercing valve, which will allow the contents to pass through. By doing this, you may reach the pipe without having to take it out.
Remove the conversion valve by unscrewing the cap on the side of the bullet-piercing valve. Your bullet-piercing valve has a cap on the side that can be used to access the pipe without having to open it. Turn the cap counterclockwise until it comes loose, then unscrew it by hand. The cap shouldn’t need to be removed with any tools. In the opening where the cap once was, screw the conversion valve on.
Conclusion: So above is the How to put freon in a mini refrigerator? article. Hopefully with this article you can help you in life, always follow and read our good articles on the website: Refrigerator- side by side Refrigerator -Appliances Kitchen Review Blog
